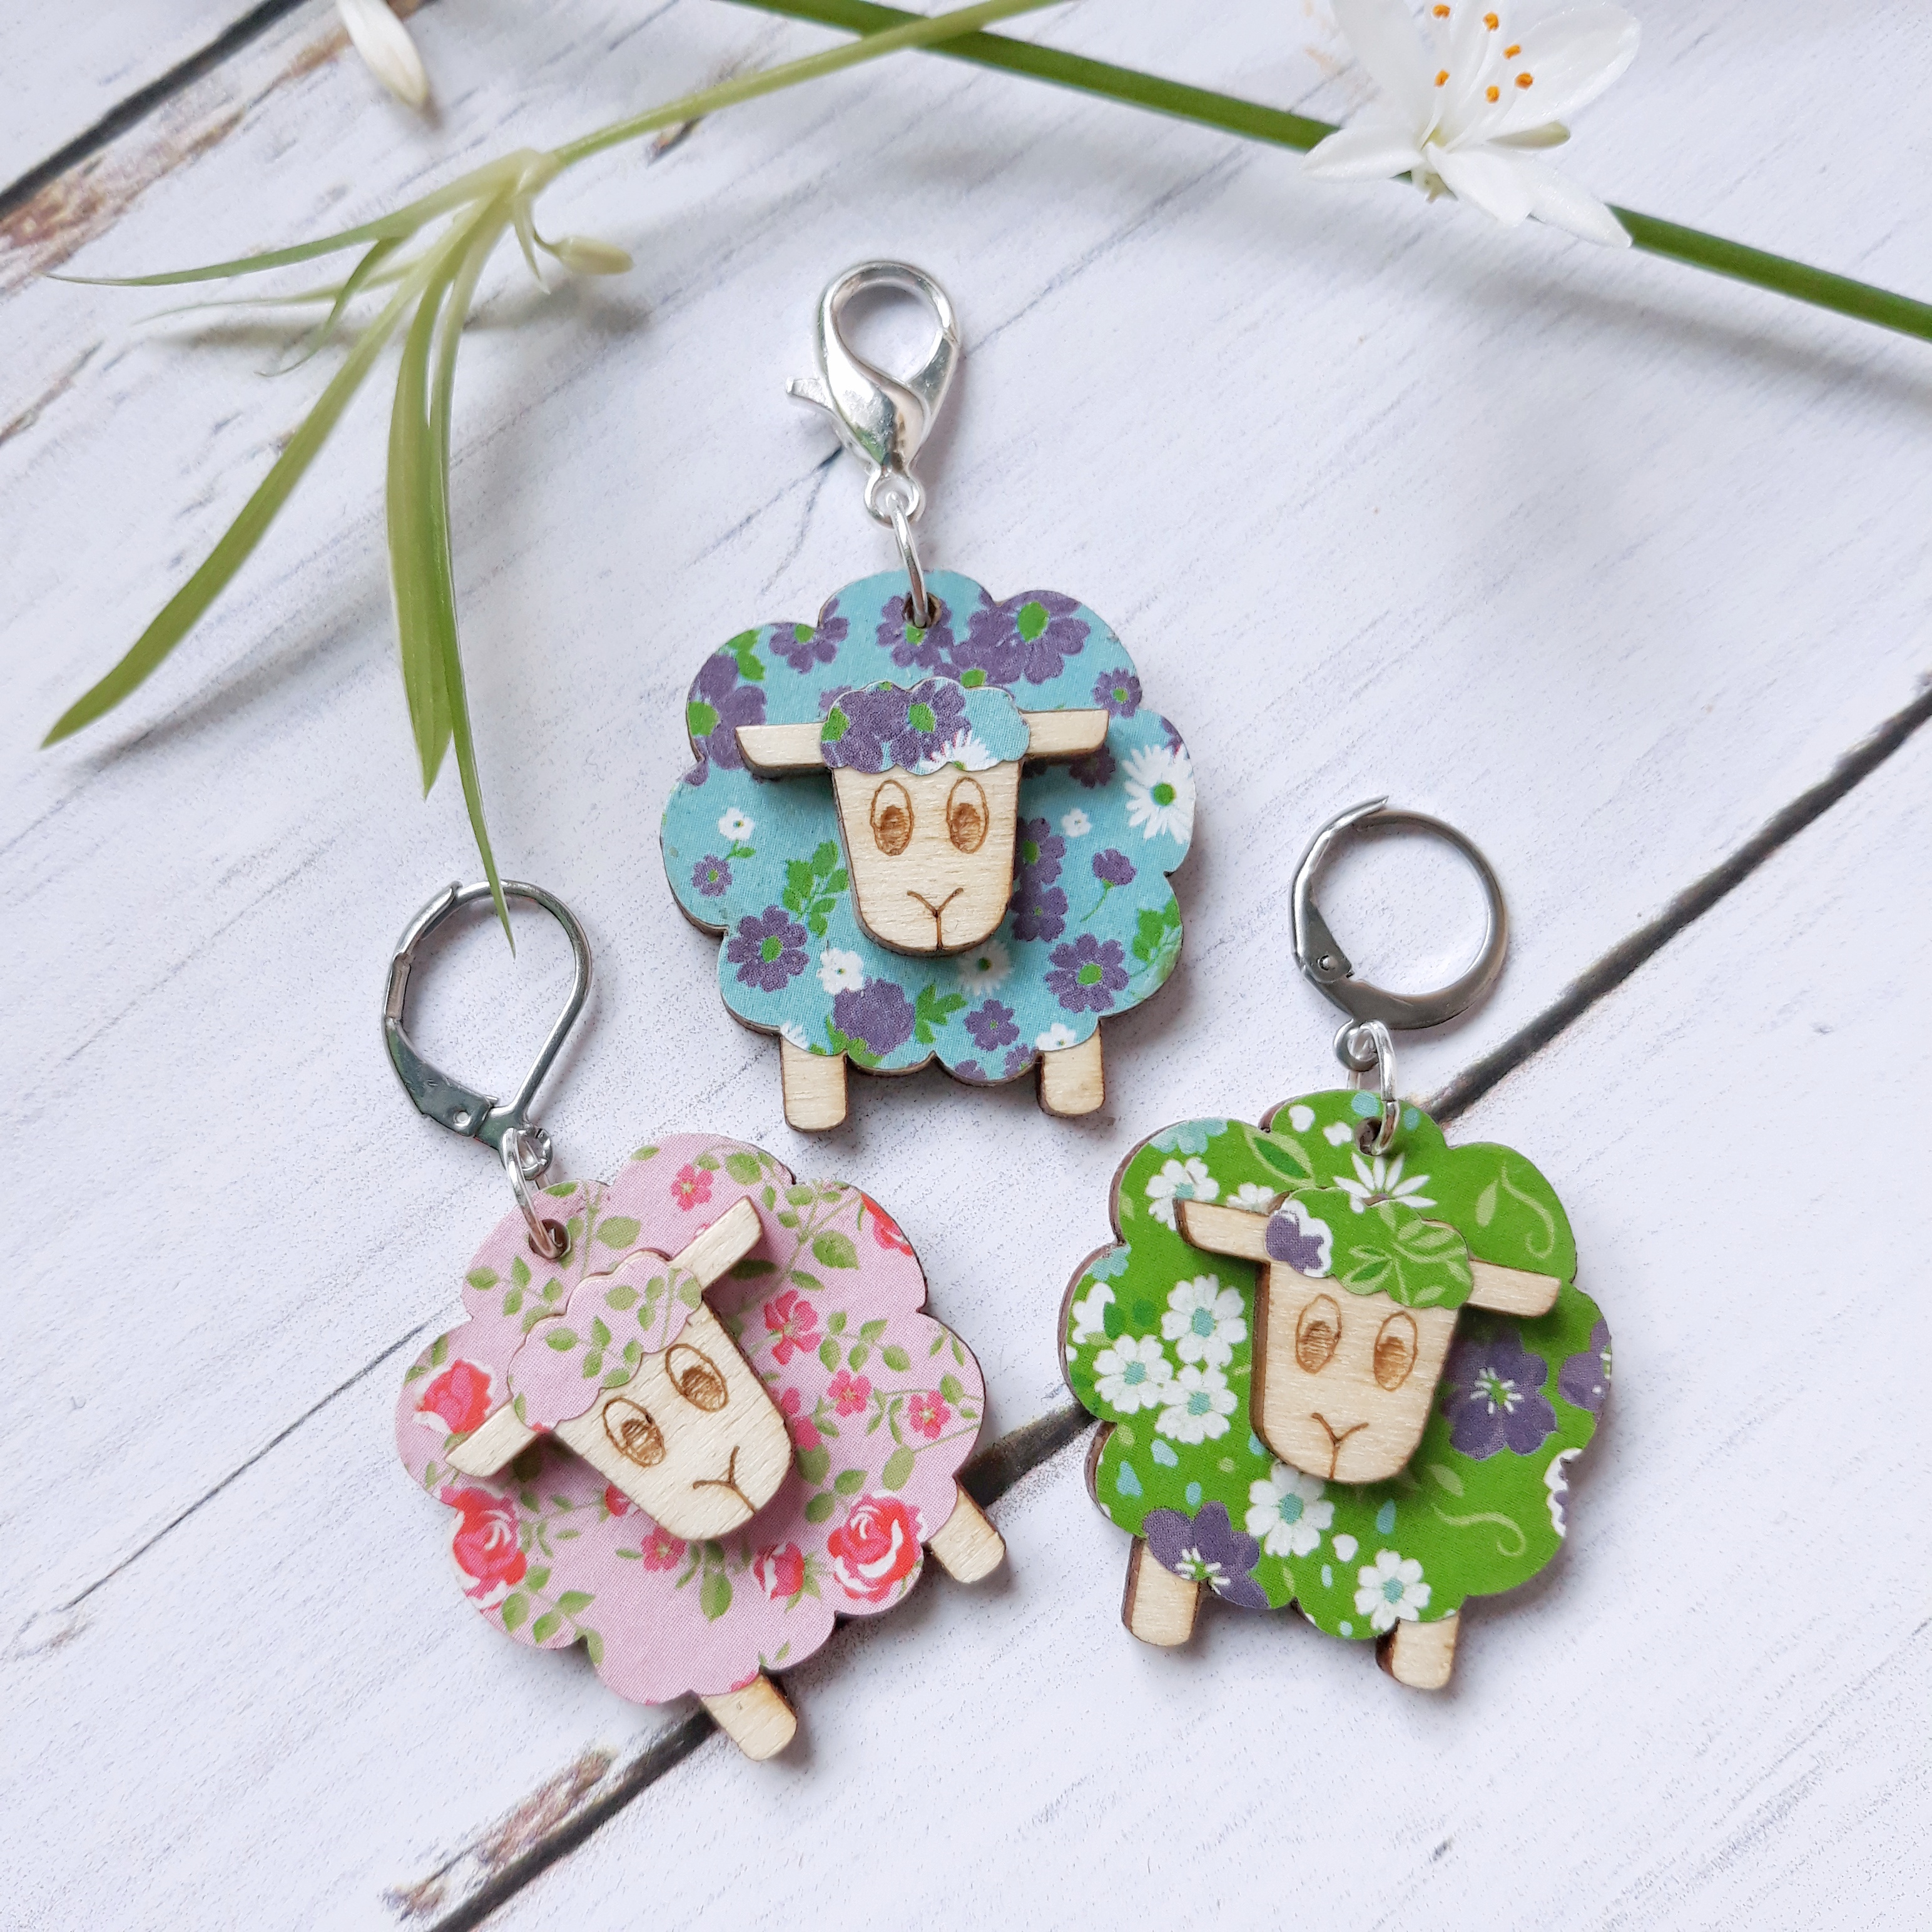
Would you like to look over my shoulder as I make the eco-friendly and sustainable wooden stitch markers (incl. Video)?
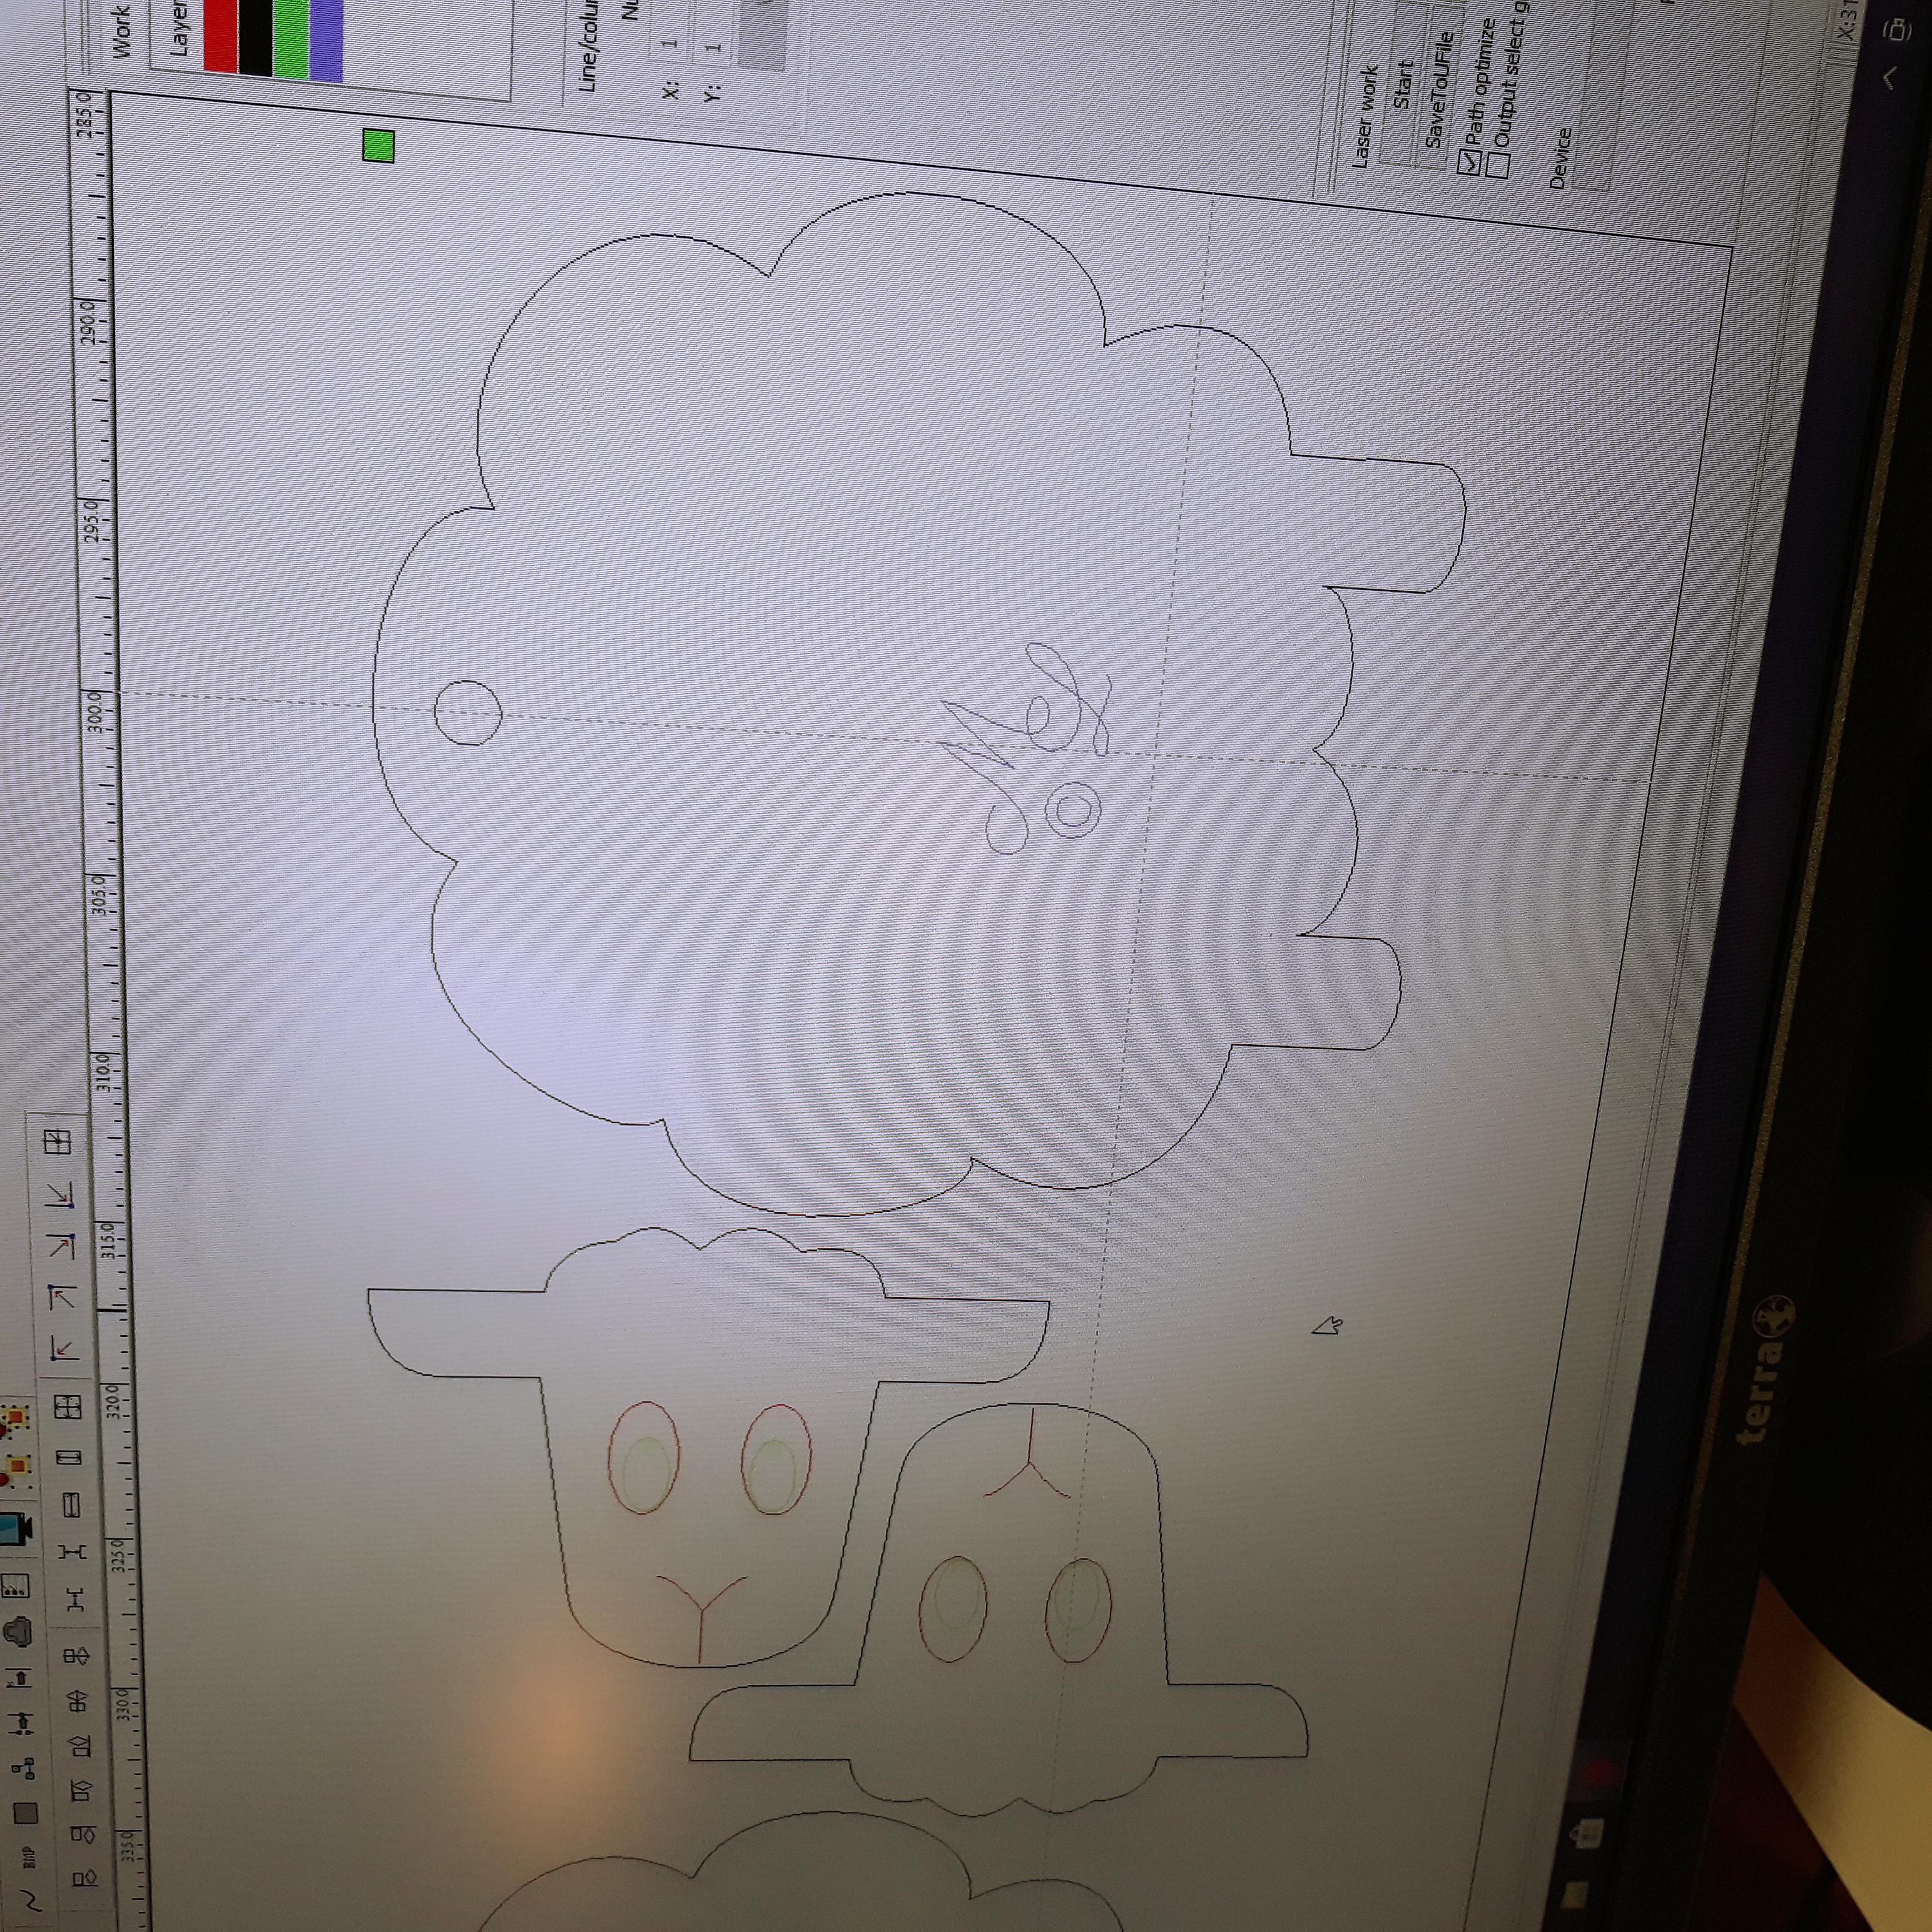
Now that I have told you a little more about the philosophy behind the wooden stitch markers, we come to the process of making! Every wooden stitch markers starts with an idea (obviously). But since the design process (trial & error included) is rather boring, we will join the making of with the converted, laser-ready graphic on the PC.
These are the steps that now follow:
Cut wooden pieces from FSC-certified poplar wood
Cut paper pieces from origami paper
Sand the wooden pieces and remove the dust
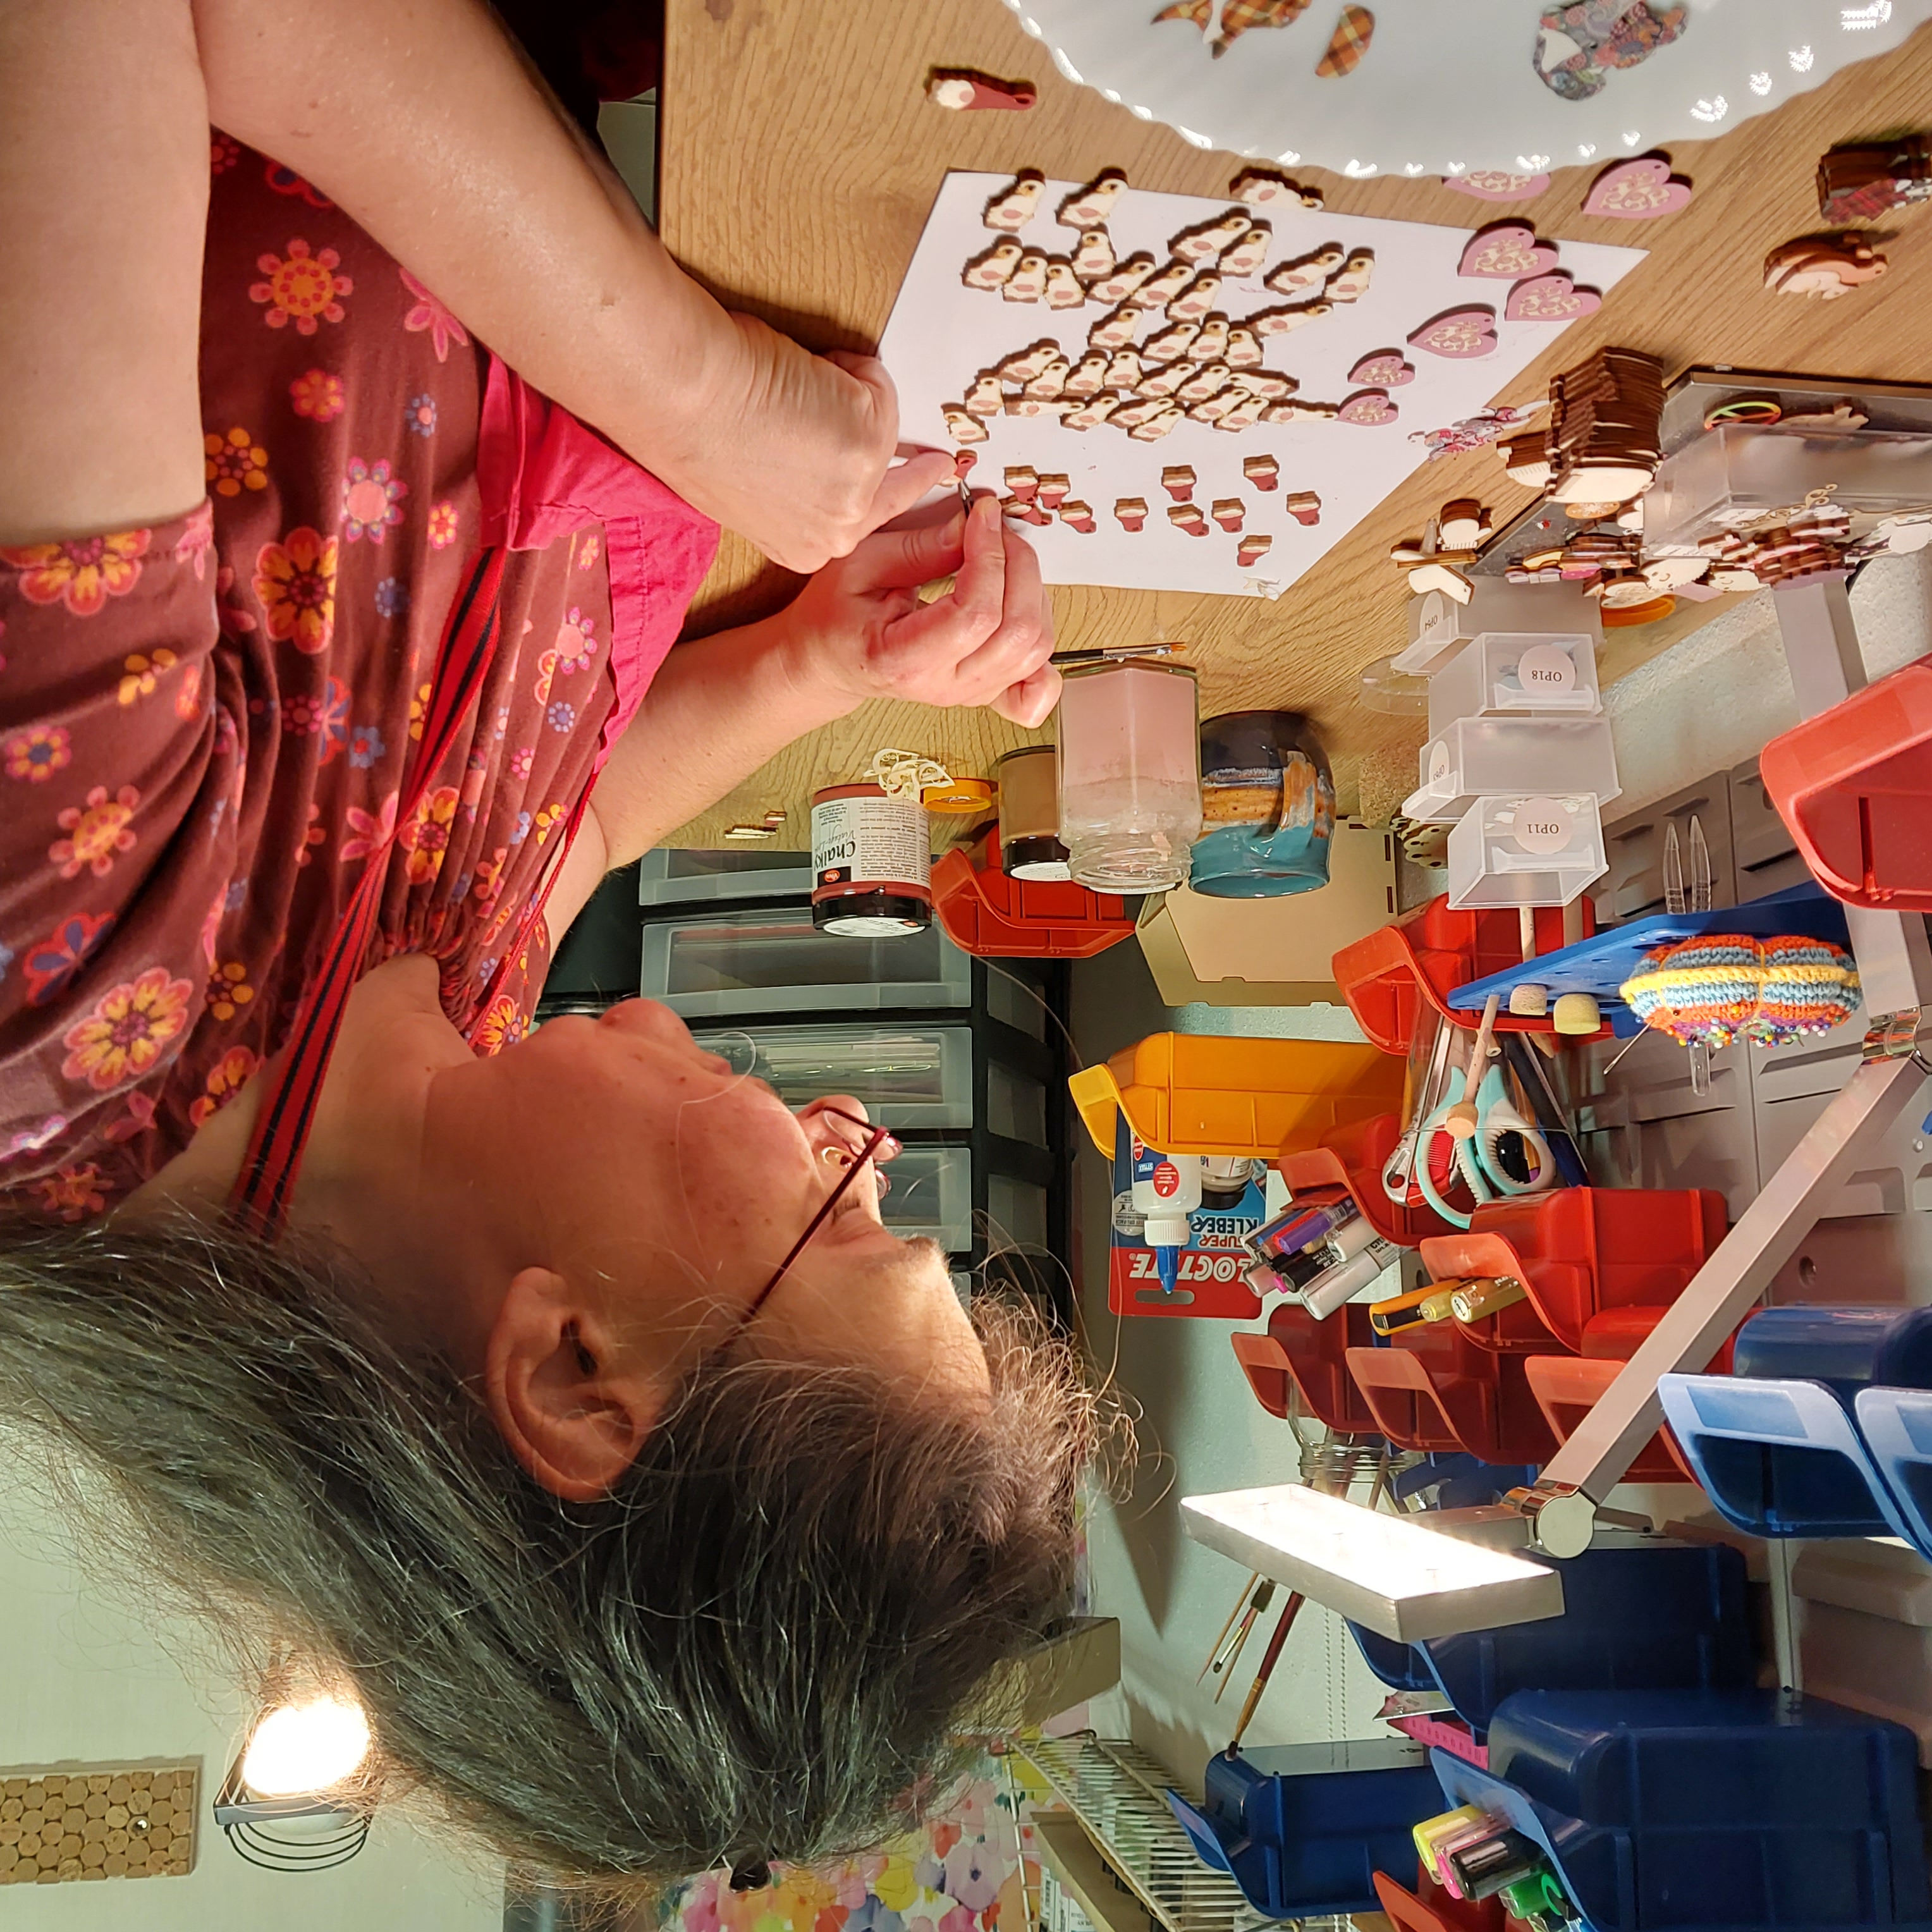
Glue origami paper on wooden pieces (I usually need tweezers and glasses for this)
Assemble pieces when thoroughly dried
Apply a layer of wax when dried (I usually use my own mixture made out of organic beeswax and oil)
Polish
Final assembly (attach jumpring and clasp)
If you like, you can also watch the making of on YouTube, as I made a short video. Grab a cup of tea (or coffee or something else) and enjoy. Just click the following link: https://youtu.be/hWEaNwbxvEI!
Granted, making wooden stitch markers is quite (time) consuming, but fulfilling. In the end, I have a great product in my hand. Not only is the production process time-consuming, but also the search for the right materials (that meet my standards) often proves to be tedious and tiring. But, I'm not complaining, because an environmentally friendly, sustainable and pretty product, is worth the effort!
It was great chatting to you! Let's meet again soon.
{"labels":"[]","default_labels":{"add_to_home_title":"Add To Home \/ Install","add_to_home_btn":"Click to add","subscribe_title":"Notifications","subscribe_btn":"Subscribe to notifications","already_subscribed":"Already Subscribed","subscribe_not_allowed":"Notifications are not allowed","subscribed":"Subscribed"}}